blog-post // Jul 17, 2026
Kickflip Mechanics: The Exact Foot Position and Flick That Makes It Work
The kickflip comes down to two things: front foot position and flick direction. Here is the exact mechanics, broken down step by step, no vague cues.
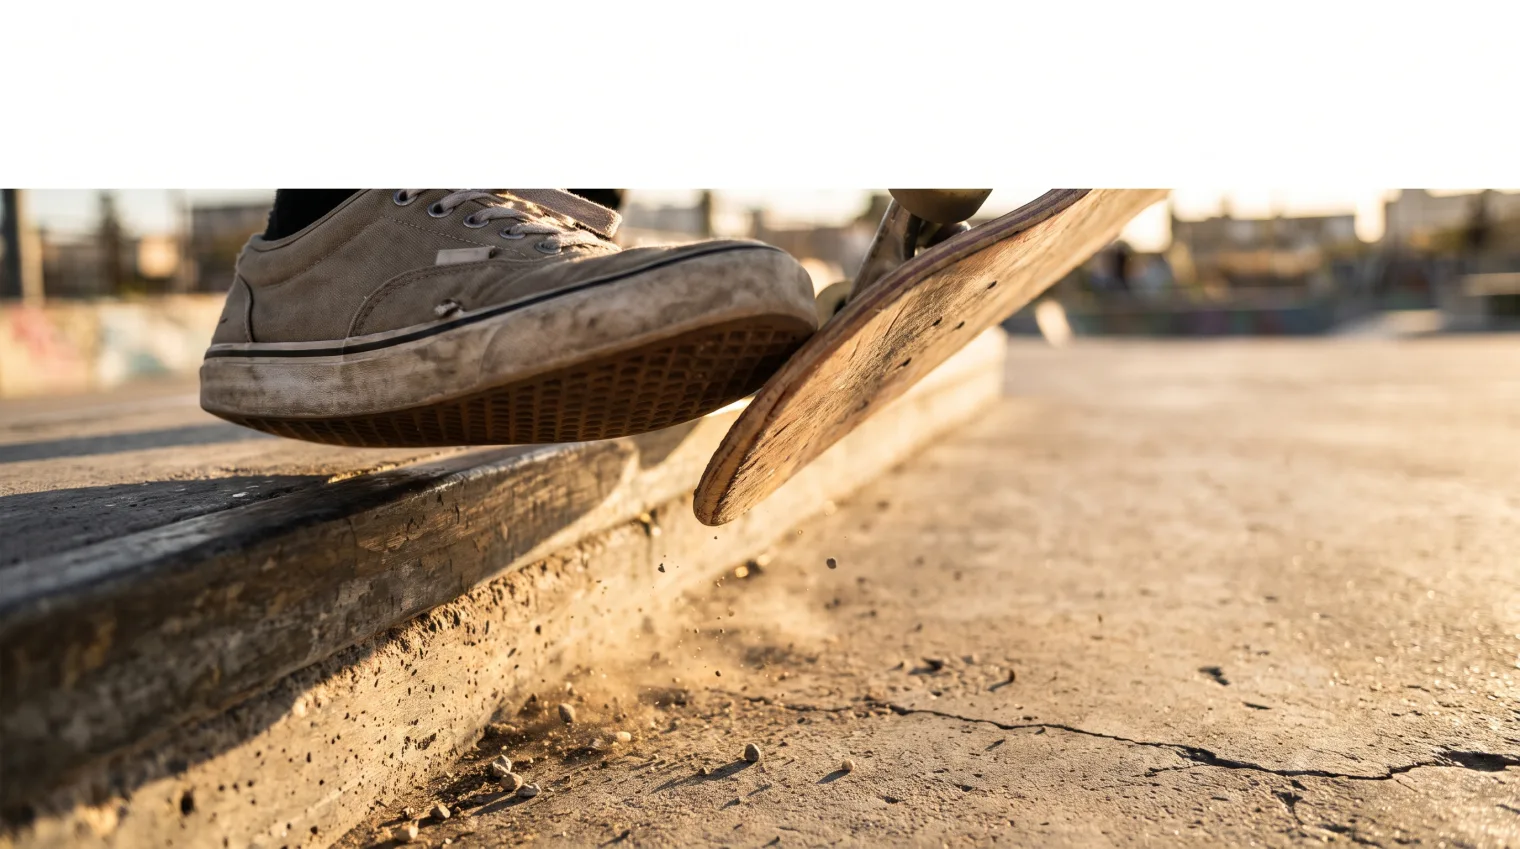
A kickflip comes down to two mechanical pieces: front foot position (angled with toe overhang on the heel side) and a clean ankle-driven flick off that toe edge, timed with your ollie pop. Everything else, board speed, stance width, back foot placement, exists to support those two pieces. Onbolts' learning data puts the kickflip at 1–6 months once you have a consistent ollie, and most of that range comes down to how precisely a rider dials in these mechanics.
This is a mechanics breakdown, not a motivational post. If you already know a kickflip takes time, this is about exactly where the flip comes from and what to check when it is not working.
Front foot position: where it actually goes
Your front foot needs two things at once: enough placement over the bolts to control your ollie pop, and enough toe hanging off the heel-side edge of the board to have something to flick with. In practice, that means angling your front foot diagonally across the deck, roughly 30 to 45 degrees off straight, with the ball of your foot near the front bolts and your toes extending past the edge of the board on the heel side.
If your foot sits flat and centered, parallel to the board's edges, you have no leverage to flick the board into a spin. This is the single most common reason beginners can ollie fine but cannot get any rotation started on a kickflip attempt.
The flick: what actually flips the board
The flick happens at the top of your ollie pop, not before it and not as a separate motion after. As your back foot pops the tail and your board starts to level out in the air, you drag the edge of your front foot up and across the board, releasing off the toe side. The motion is closer to wiping your foot off a step than kicking a ball. Your ankle does most of the work; your knee and hip stay relatively still.
A useful mental checkpoint: if you feel your whole leg kicking out to the side, you are using leg motion instead of ankle flick, and that usually throws your body off balance right as the board needs your feet back on it.
Timing the flick with your pop
The flick is not a motion you add after your ollie, it is layered into the same pop. As your back foot snaps the tail down, your front foot is already starting its drag-and-release across the board. If you pop first and flick second as two separate steps, you will feel a hitch in the motion and the board will often flip late, past the point where your feet can catch it.
Practicing this timing standing still, without rolling, is one of the fastest ways to isolate flick timing from everything else that is happening during a real attempt.
Reading your own mistakes from how the board flips
The way your board misbehaves tells you which part of the mechanics to fix:
Board does not flip at all, or barely rotates. Your front foot is likely too centered, with no toe overhang to flick off. Check your starting foot position before anything else.
Board flips halfway and you land on a slanted deck. Your flick is releasing too early or not dragging far enough across the board's surface. Extend the drag slightly before releasing.
Board over-rotates and you cannot catch it. Too much flick relative to your hang time. Either add slightly more ollie height for more time in the air, or ease off the flick speed.
Board flips but drifts out to the side. Your flick direction is angled instead of straight up and off the edge. Check that your foot is releasing straight off the toe-side edge, not swiping diagonally.
Catching and landing
Once the board has rotated, both feet come back down roughly where they started: front foot near the bolts, back foot on the tail. Catching with stiff, locked legs is a common reason clean flicks still end in a bail, since there is no give to absorb the landing. Keep your knees soft and be ready to ride out immediately rather than pausing to check the landing first.
Related mechanics worth knowing
If you already have a pop shove-it down, you already understand board rotation without the flick added, which is useful reference for how a kickflip's spin should feel. Once your kickflip is consistent, the flick mechanics transfer almost directly to a heelflip, just mirrored to the heel-side edge, and later to a varial kickflip, which combines the kickflip flick with shove-it rotation.
Drilling the mechanics deliberately
Break the motion into three isolated drills instead of only doing full attempts: foot position checks (standing still, confirm the toe overhang before you even pop), stationary flick practice (drag and release without rolling, just to feel the ankle motion), and then full attempts at slow speed before adding your normal rolling speed. This sequence is slower per session but tends to shorten the overall 1–6 month window, since you are fixing one variable at a time instead of guessing across all of them during full-speed attempts.
Track your kickflip through the Onbolts 5-level scale in progress as your mechanics improve, from your first landed attempt through to full consistency. For where the kickflip sits relative to everything before and after it, check the skill tree, or browse the full trick list for more tricks to work on alongside it.
Back foot: the quiet half of the trick
Almost every kickflip breakdown focuses on the front foot, but the back foot has its own job that gets overlooked. Your back foot needs to pop straight down off the tail and then get out of the board's way quickly, without dragging or steering. A back foot that lingers on the tail or angles the pop off to one side will start the board rotating incorrectly before your front foot flick even happens, which shows up later as an unpredictable spin direction that looks like a front foot problem but is not. Check your pop in isolation, without any flick at all, to confirm your back foot is popping straight and clean before adding the front foot motion on top of it.
Stance width and how it affects the flick
A stance that is too narrow limits how far your front foot can travel during the slide-and-flick motion, which caps how much rotation you can generate. A stance that is too wide makes it harder to stay balanced through the pop and catch. Most riders land on a stance somewhere around shoulder width, adjusted slightly based on shoe size and personal comfort, but the specific number matters less than consistency: changing your stance width between attempts introduces a variable that makes it much harder to isolate what is actually going wrong with your flick.
Why board setup affects how a kickflip feels
Griptape wear, deck concave, and wheel size all change how a kickflip feels even when your technique has not changed. Worn-out grip tape near your front foot's flick zone reduces the friction your foot needs to catch and drag the board's edge, which can make a previously reliable flick suddenly feel slippery and inconsistent. A deeper concave gives your foot more of a natural pocket to flick from, while a flatter deck asks for slightly more precise foot placement to get the same result. If your kickflip mechanics have not changed but your success rate suddenly drops, checking your board setup before assuming your technique broke down is worth the five minutes it takes.
Isolating flick problems from balance problems
A common trap is treating every failed kickflip as a flick problem, when a lot of failed attempts are actually balance problems that happen to occur during a flick trick. If you can consistently execute a clean, fully-rotating flick but keep missing the catch, the issue is more likely in your body position and timing on the way down than in the flick mechanics themselves. Separating these two categories, does the board rotate correctly versus do I land it, helps you know whether to keep drilling the flick in isolation or shift focus to your landing stance and knee bend instead.
Frequently asked
- Where exactly does your front foot go for a kickflip?
- Your front foot sits angled across the board, with the ball of your foot roughly behind the front bolts and your toes hanging slightly off the heel-side edge. That toe overhang is what gives your foot something to flick off. If your foot is fully centered on the board with no toe overhang, you have nothing to catch the flip with.
- Do you flick with your toes or your ankle?
- The flick is primarily an ankle and foot motion, not a leg kick. As you pop, you drag the edge of your front foot up and off the toe-side edge of the board in one motion, using your ankle to snap the foot off cleanly. Trying to generate the flip by kicking your whole leg out usually throws off your balance instead of flipping the board cleanly.
- Why does my board only flip halfway on a kickflip?
- A half-flip almost always means your flick is too slow or your foot is coming off the board too early, before it has imparted enough spin. Try dragging your foot further across the board's edge before releasing, rather than flicking earlier and harder.
- Why does my board flip too fast and spin out from under me?
- An over-rotating kickflip usually means too much flick relative to your ollie height and pop timing, so the board completes its rotation and starts a second one before your feet catch it. Slightly reducing flick speed or adding a touch more ollie height and hang time usually fixes it.
- How is a kickflip's foot position different from a heelflip?
- A kickflip flicks off the toe-side edge of your front foot, rotating the board away from you (toward your heel side). A heelflip flicks off the heel-side edge in the opposite direction. The stance and pop are similar since both require an ollie as a prerequisite in the Onbolts skill tree, but the flick direction and which part of your foot does the work are mirrored.
- Should I learn the flick before or after I can already ollie well?
- After. The ollie is a direct prerequisite for the kickflip in the Onbolts skill tree, and Onbolts' learning data estimates it at 1–4 weeks on its own. Trying to add a flick before your ollie pop is consistent means you are debugging two problems at once instead of one, which almost always slows overall progress.