blog-post // Aug 2, 2026
How to Build a Trick Bag That Reflects Your Style
Stop chasing random tricks. Build a trick bag that fits your style from what Ollie already unlocks, using Onbolts' skill tree and 5-level scale to plan it.
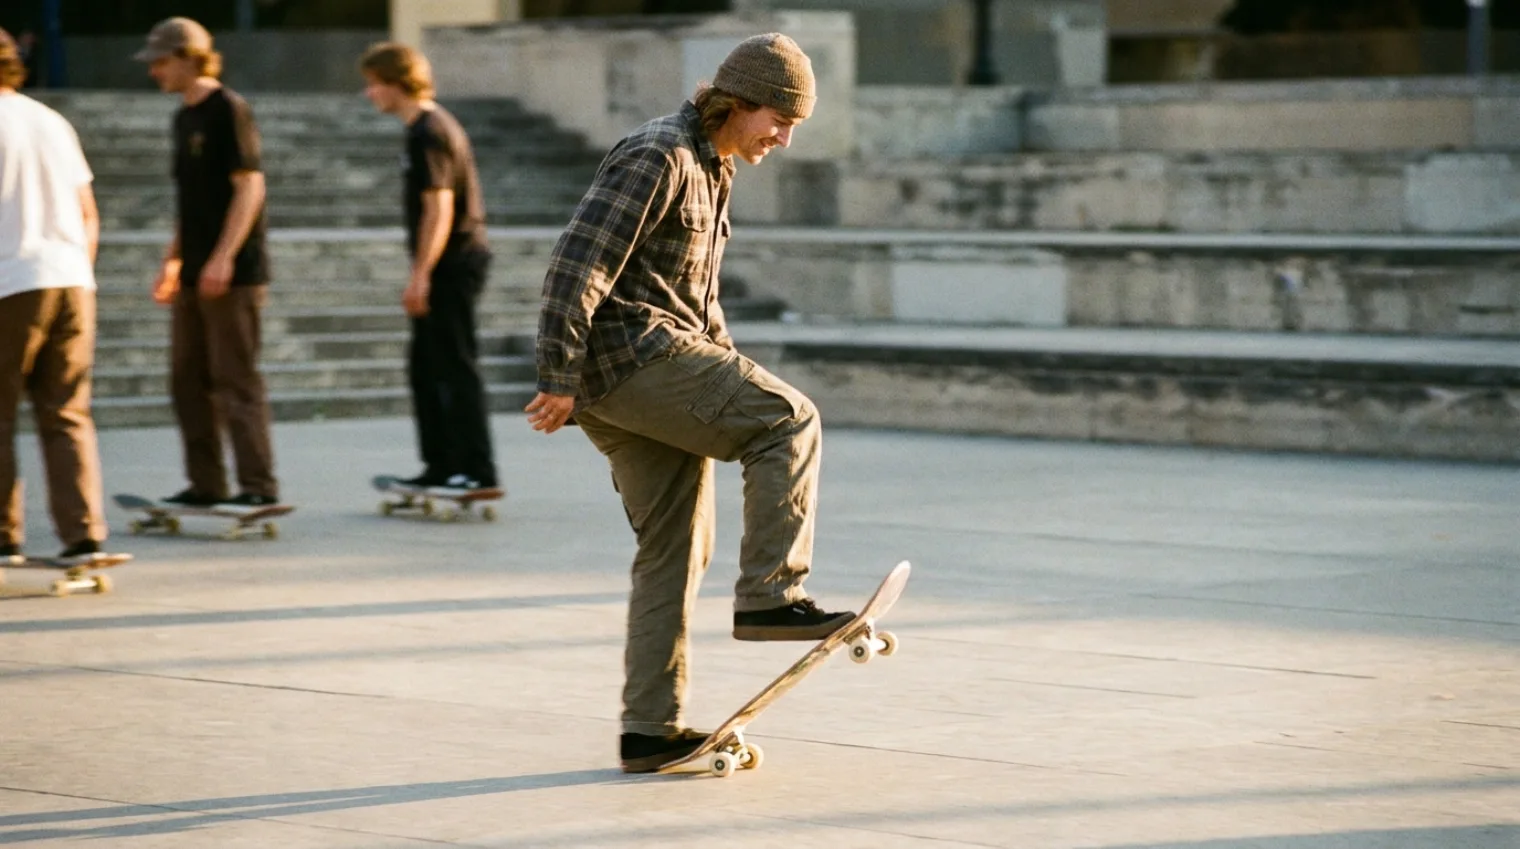
A trick bag that reflects your style starts with the tricks Ollie already unlocks, not a random list off a video. On Onbolts, landing an Ollie opens three real paths: Pop Shove-it, Frontside 180, and Kickflip. Try all three, notice which one feels natural under your feet, then follow that family's prerequisite chain on the skill tree instead of jumping between unrelated tricks. Track each one on the 5-level scale on your progress page and your bag will take shape on its own.
Your trick bag is a set of choices, not a checklist
Nobody lands every trick in the skill tree, and that was never the goal. A trick bag is the small set of tricks you can actually pull out on command, at a real spot, without thinking about it. Some skaters build a bag around technical flatground combos. Others build one around grinding anything they can find. Neither is more correct. The mistake is trying to build a bag by chasing whatever trick looks impressive in a clip that week, instead of building outward from what you already have working and what you actually enjoy doing.
"Style" here doesn't mean anything mystical. It shows up in small, practical signals: which trick you land first out of a group of options, which one you keep sessioning even after your friends move on, which spots you gravitate toward without thinking about it. A skater who lights up at a ledge and treats a flat bar as a warm-up is telling you their bag belongs in Grinds and Slides. A skater who'd rather run the same three flip tricks into each other on flat ground for an hour is telling you theirs belongs in Flatground. Onbolts' category field on each trick just gives that instinct a name.
Start from what ollie already unlocked
Before picking a lane, it's worth actually trying the three tricks Onbolts lists as the direct next step after Ollie. Pop Shove-it is beginner at "1-3 weeks." Frontside 180 is beginner at "2-5 weeks." Kickflip is intermediate at "1-6 months," a bigger commitment than the other two. Get each of these to at least landed once before deciding where to specialize. The one that clicks fastest, or the one you keep wanting to practice even when it's not clicking, is a better signal for your style than anything else.
The four rough lanes on Onbolts
The category field on each trick sorts pretty cleanly into a few practical lanes: Flatground, which covers most flip tricks and shove-its; Grinds and Slides, which covers rails and ledges; Transitions, which covers ramps, bowls, and vert-style tricks; and Manuals and Freestyle, which covers balance-based and old-school tricks. Your bag doesn't need to live in just one lane, but most skaters end up leaning heavily on one or two, and that lean is usually visible within the first few months of riding past Ollie.
A technical flatground bag
If flatground is your lane, Kickflip is the hub. Onbolts' tree suggests Heelflip, intermediate at "1-4 months," and Tre Flip, advanced at "6-18 months," as the next steps after Kickflip. Alongside those, Varial Kickflip, intermediate at "2–6 months" and requiring both Pop Shove-it and Kickflip, and Varial Heelflip, intermediate at "2–5 months" and requiring both Heelflip and Frontside Shove-it, round out a bag that reads as genuinely technical rather than just "kickflip plus everything else."
The order matters here more than it might look. Varial Kickflip needs both Pop Shove-it and Kickflip together, not Kickflip alone, and Varial Heelflip needs both Heelflip and Frontside Shove-it. If you're building this lane deliberately, banking Pop Shove-it and Frontside Shove-it early, both beginner or intermediate and only a few weeks each, quietly clears the path for both varial tricks well before you'd otherwise think to start them.
A grind and slide bag
If rails and ledges are more your thing, 50-50 is the entry point, beginner at "2–6 weeks" and requiring only Ollie. From there the tree splits into 5-0 Grind and Nosegrind, both intermediate and both requiring 50-50 directly. Nosegrind opens Crooked Grind, advanced at "2-5 months." On the slide side, Boardslide is intermediate at "2-6 weeks," and Noseslide is intermediate at "3-8 weeks," both requiring only Ollie. Land both and Bluntslide, requiring both of them together, becomes reachable at advanced, "3-8 months." Onbolts' tree also lists Darkslide as a soft "next" suggestion after Boardslide, worth knowing about early even though its actual hard prerequisite is Casper Flip, not Boardslide itself, so treat it as a longer-range goal rather than a direct next step.
Notice the shape of this lane compared to the flatground one: it splits into two short branches, grinds and slides, that only merge back together at Bluntslide. That means a rail-and-ledge bag can genuinely run both branches at once without either one blocking the other, since 5-0 Grind and Boardslide share no prerequisite beyond Ollie itself. Plenty of skaters who lean this way end up with a bag that's half grinds, half slides, well before either branch reaches its advanced-tier trick.
A transitions or manuals bag looks different, and that's fine
Not every skater's style points at flatground or rails. If you spend more time at a bowl or a mini ramp, your bag naturally leans on Transitions-category tricks like Drop In, Rock to Fakie, and Axle Stall, several of which don't yet carry published learning-time bands on Onbolts because they depend so heavily on the specific ramp or transition you're riding. If balance and old-school tricks are more your style, Manual, beginner at "2-6 weeks," and Nose Manual, beginner at "3–8 weeks" and requiring Manual first, build directly into Manual 180 Out, which also requires Manual. Onbolts has less granular timing data for transitions and manuals than for flatground and rails right now, but the category split still holds: pick the lane where you're already spending your sessions, and build the bag from there instead of forcing a flatground-style progression onto a skater who mostly skates a bowl.
The opposite failure mode is just as common as never specializing: a bag that's five tricks deep in five different lanes, none of them past occasional. If you notice that pattern in your own progress page, the fix isn't to abandon variety, it's to pick one lane to push to consistent or mastered before adding a sixth different trick from a sixth different category. A bag with three flatground tricks at mastered reads as a real skill; a bag with eight tricks scattered across every category, all sitting at landed once, doesn't read as anything yet.
Don't forget the stance mirror, just don't front-load it
Fakie, nollie, and switch versions of your core tricks are legitimate additions to a trick bag, and eventually most serious bags include at least a couple. But the tree's own prerequisites make the order clear: Fakie Kickflip needs both Fakie Ollie and Kickflip, Switch Kickflip needs both Kickflip and Switch Ollie, so your regular-stance version needs to exist first regardless. Add these once your core bag tricks sit at consistent, not while you're still landing them once and calling it done. For a full breakdown of which stance variant to prioritize and why some jump a full difficulty tier, see which stance variants to learn first and the hardest stance variant tricks.
This is also where your progress page earns its keep beyond just this cluster of tricks. Rate every trick you're working on across the 5-level scale, learning through mastered, and bookmark tricks you want to add next instead of just remembering them. Seeing your own bag laid out honestly, with some tricks at mastered and others still at learning, tells you exactly where to spend your next session instead of guessing, and it's the same habit that makes deciding when to add a fakie or switch version of a core trick an easy call instead of a gut feeling.
A sample first bag, built from real data
A reasonable starter bag after Ollie: Pop Shove-it and Frontside 180 for flatground basics, both beginner and only a few weeks each, Kickflip as your first real commitment at "1-6 months," and 50-50 plus Boardslide to get a foothold on rails and ledges, both intermediate at roughly a month and a half. That's five tricks across two lanes, all directly connected to Ollie in the tree, and all with real time estimates behind them instead of guesswork. From there, let the "next" suggestions on each trick's page guide where you branch.
Head to the full trick list to see every option Onbolts tracks, or pull up the skill tree and start tracing which family actually matches how you already like to ride.
Frequently asked
- What is a "trick bag" in skateboarding?
- A trick bag is the set of tricks a skater can reliably pull out on command, at a real spot, without having to think through the mechanics. It's smaller and more personal than the full list of tricks someone has ever landed; it's specifically the tricks that are consistent enough to actually use.
- How many tricks should be in a starter trick bag?
- There's no fixed number, but a workable starting bag is often five or six tricks spread across one or two lanes, for example Pop Shove-it, Frontside 180, and Kickflip on flatground plus 50-50 and Boardslide for rails and ledges, all of which unlock directly from Ollie on Onbolts' tree.
- Should I learn every trick in a family, like every kickflip variation?
- Not necessarily. Onbolts' tree shows dozens of kickflip-family tricks across different stances and combinations, but a trick bag works better as a curated set you actually use than a completed checklist. Pick the variations that show up naturally in how you skate, and leave the rest as optional later goals.
- How does the skill tree help me plan a trick bag instead of just picking randomly?
- Every trick's prerequisites and "next" suggestions on Onbolts show you exactly what's realistically reachable from where you are now, so instead of guessing at a trick that requires three tricks you don't have yet, you can follow a chain that starts with something already unlocked.
- Do stance variants like fakie, nollie, and switch count as separate trick-bag tricks?
- Yes. Onbolts tracks them as separate rows with their own difficulty and progress rating, so a fakie or switch version of a trick you already have counts as a genuine addition to your bag, not a repeat of the same trick.
- What's a good first line to work toward once I have a small bag?
- A simple line built from early unlocks works well: an Ollie into a Pop Shove-it or Frontside 180, then into a 50-50 or Boardslide if there's a ledge or rail nearby. It uses tricks that are typically already at consistent or better within the first couple of months past Ollie.